This post might be a bit late.
But better late than never.
So, around 3 or 4 months ago, a hobby shop had an extravagant sale which forced me and my friend to travel around 3 hours and walk around 15 minutes just to avail of the said sale.
From that sale, I was able to acquire 3 kits.
A Wing Gundam Fenice Rinacita, a Wing Gundam Honoo and a Tryon 3 Gundam, yes all HGBF (High Grade Build Fighters) line up.
Well, nowadays, I can only afford HG 1/144 scale Gunplas (unlike when I was in college).
So, I already built the HGBF 1/144 Wing Gundam Honoo and it was a fantastic kit and a must have for a Wing Gundam collector/fanatic like me (see pictures below).
 |
| Loading.. 50% |
 |
| Macho... macho... Man |
 |
| Form Blazing Guns |
So since I am itching to build a gunpla, the only remedy is to build one.
Which takes us to building the Tryon 3 Gundam.
For those that doesn't know the history behind Tryon 3 Gundam, Click Here [GundamWikia].
So let's appreaciate the box art for a bit.
 |
| HGBF 1/144 Tryon 3 Gundam or Gundam Tryon 3 |
So, this Gundam is actually composed of three components, as shown in the box art.
The Sora Tryon which is a derpy eagle/condor of sorts which forms the legs.
The Umi Tryon, which is a manta ray that forms half of the torso and the arms.
And the Riku Tryon which is a bubble headed lion or liger that forms the chest and the back pack.
Combined, they are Voltr-- I mean Tryon 3.
So, I was able to complete the Riku and the Umi tryon a week or two ago.
 |
| Yep, I need a trident action base if I were to display these as individual mechs |
Which I think is a great idea, but a bit of a hassle as I've already applied the metallic stickers to the eye.
But when I was continuing the build today, the awkwardly placed gates on the parts of the kit are starting to bother me.
Now for those who doesn't know, I don't do sanding.
Then what do you do to remove the nub marks you ask?
Well, I use the hobby knife.
Unconventional, I know.
But we all have ways to do things.
So, again, as I was continuing with my build, the nub marks are starting to irritate me.
Which forced me to recolor the yellow parts to gold.
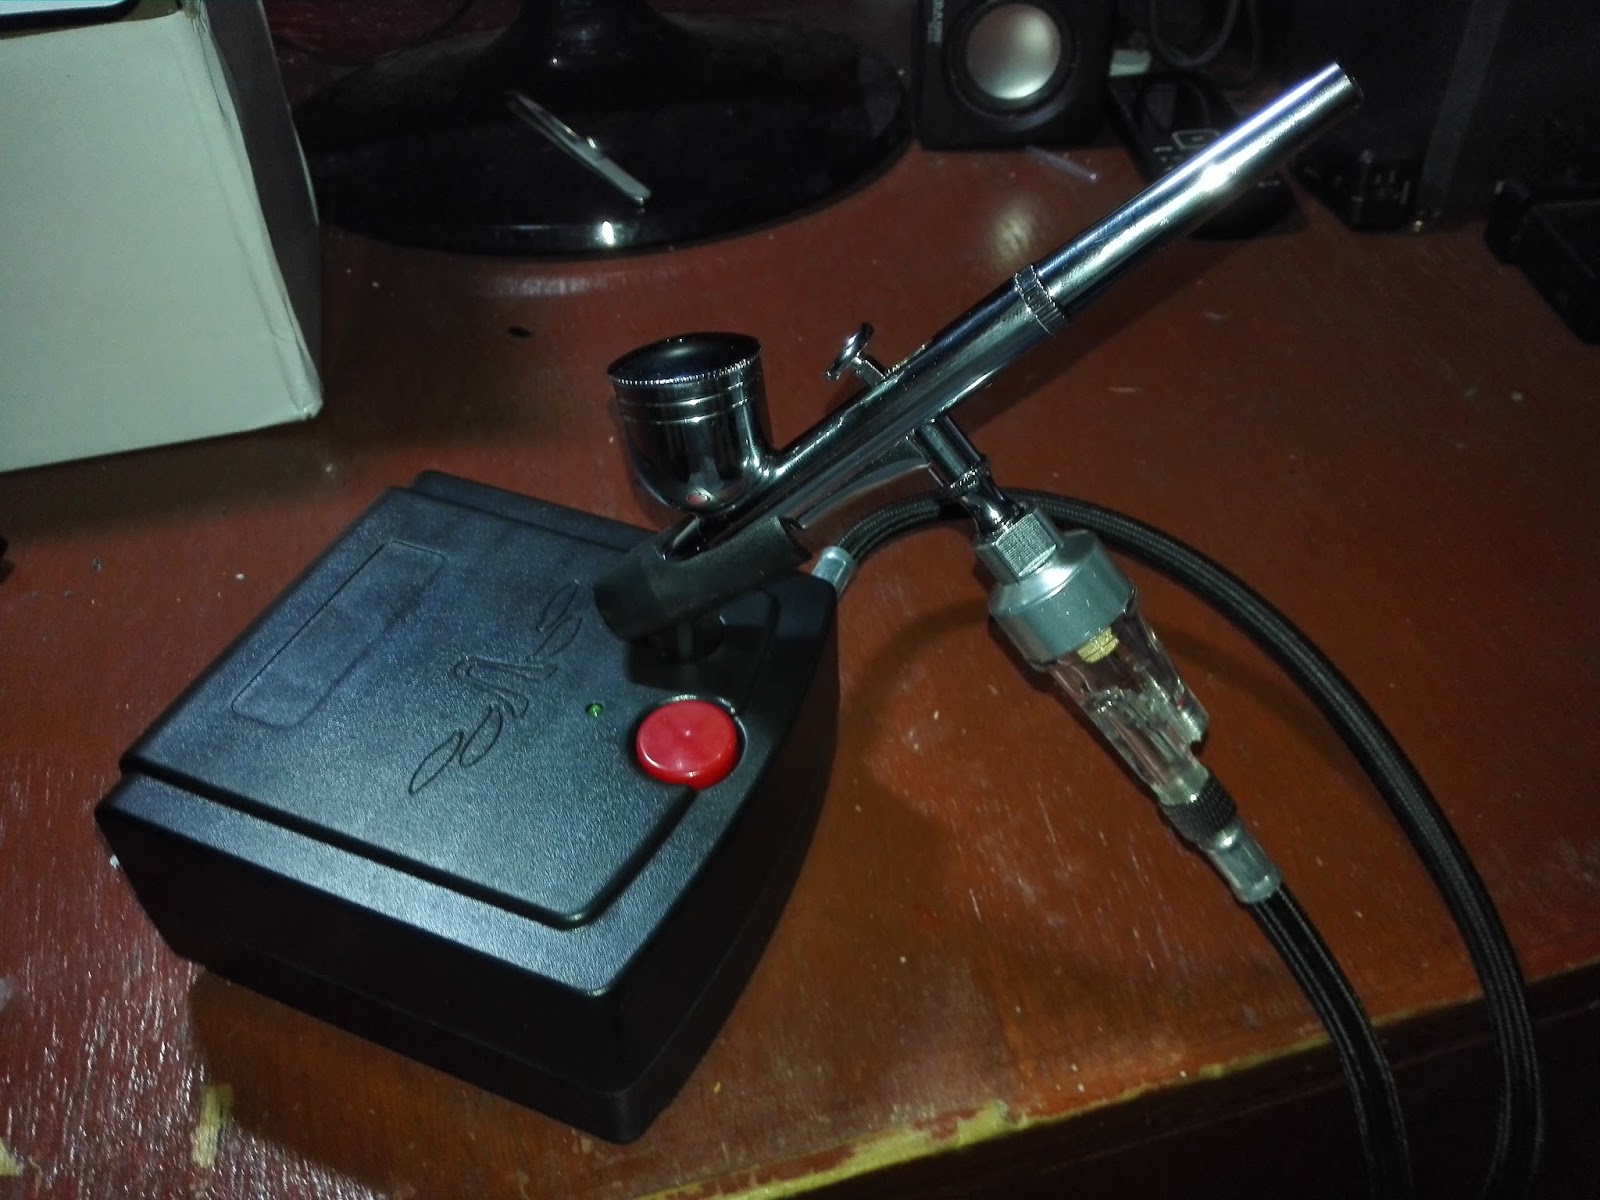
This is where the newly bought generic airbrush comes in.
But currently, the only part that I've recolored is the Riku Tryon.
 |
| Oooohh...Shiny |
Paint Type: Acrylic
Brand: Tamiya
Color: Gold Leaf
Ratio: 3:1 (paint to thinner)
Pre-thinned: No
I will paint the other parts as well.
As much of a hassle as it may be, the placing of the gates as well as the nub marks are irritating me.
A closer look at the head.
 |
| And I'll form the head! |
That way I can somehow hide the nub marks.
But for now, I have to first acquire some paint and somehow force myself to work on this.
On the lighter side, I'm glad to report that the Lazada Airbrush is working perfectly and is delivering what it promised.
'Till the next post!